
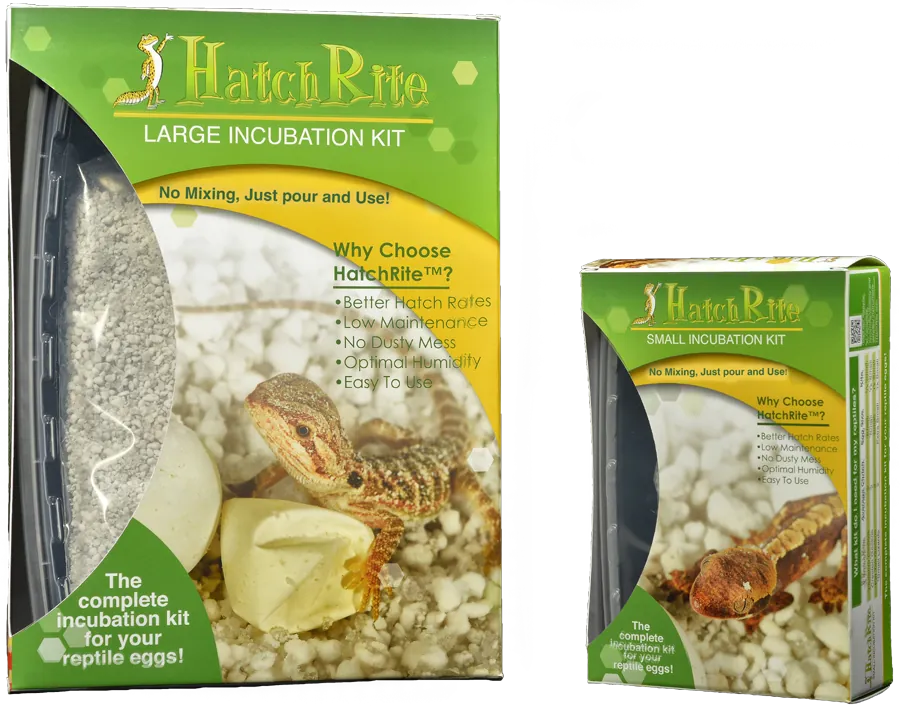
- Open the kit and remove the contents.
- Pour in the HatchRite™. Open the pre-measured bag and pour it into the incubation container. The material should clump together slightly and fill the container to about 75%.
- Set the eggs. Nestle them about halfway into the HatchRite™, in the same position you found them. Rotating reptile eggs during incubation is not recommended, as it can kill the embryo.
- Close the lid. Make sure the eggs don’t touch the lid. Condensation collects on the lid during incubation and can be absorbed by eggs touching it. Eggs also swell as they develop, so keep them away from the sides of the container too.
- Check weekly. Open and inspect the container once a week. This exchanges the air and lets you check the eggs. Dead or infertile eggs typically discolor and begin to mold; live eggs generally resist mold. Remove molding eggs unless they’re attached in the middle of a connected mass, in which case leave them so you don’t damage the healthy ones.
- Watch for dehydration. Eggs should stay full and robust through most of incubation. Some species’ eggs normally sink in up to seven days before hatching. If eggs sink more than 14 days before the projected hatch date, they are usually dehydrated: add a small amount of water to a corner of the container and it will redistribute through the HatchRite™. Add small amounts over time rather than a lot at once, and never spray or pour water directly onto the eggs.
- Hatch day! Remove your new babies from the container and consult a good care book for the species. ECO’s Professional Breeders Series books are written by the people who breed and specialize in the reptiles they write about.
- Discard the HatchRite™. Hatching eggs release fluids that attract flies and grow mold and bacteria. For the best results, always use fresh HatchRite™ for each clutch.